In 2025, you simply cannot be a DevOps engineer without understanding cloud fundamentals for DevOps. It is the mandatory playground where all modern software lives. In our previous tutorials, you learned how to build a CI/CD pipeline and how to containerize an app with Docker. But right now, that Docker container is just sitting on your laptop.
To be job-ready, you need to know how to take that container and run it on a server that billions of people can access. You need "The Cloud".
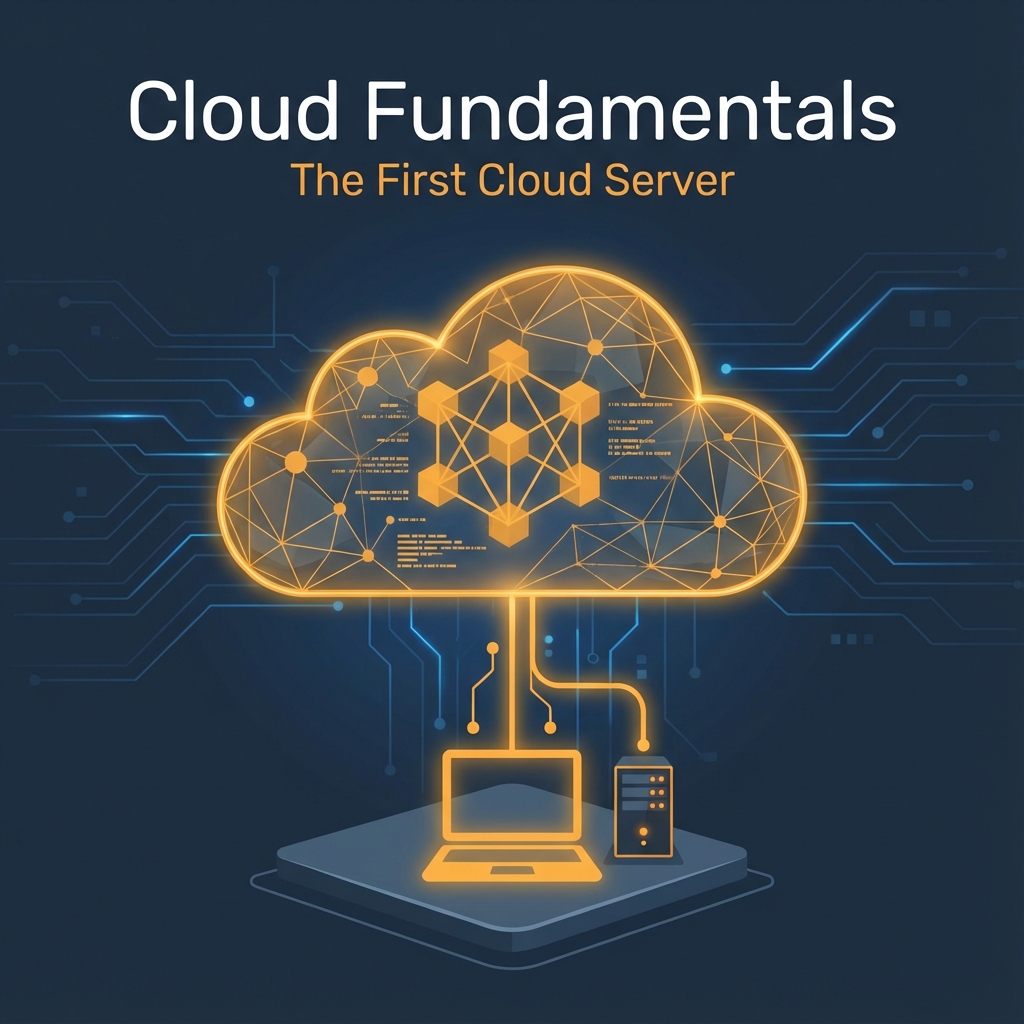
This guide is not a boring textbook definition list. It is a practical, step-by-step walkthrough. We are going to explain the core concepts of AWS EC2 for beginners, understanding regions and availability zones, and actually launch your very first free-tier web server. By the end of this post, you will have a real, securing cloud account and a running server to show for it.
What Is Cloud Computing (For DevOps People)?
Forget the marketing fluff. For a DevOps engineer, the cloud is simply somebody else's computer that you rent by the second. But to understand why it took over the world, we need to look at the history of "Where do apps live?"
Phase 1: Physical Servers (The Dark Ages)
In the old days (pre-2005), if a company wanted to launch an app, they had to buy
a physical server from Dell or HP. They had to wait weeks for shipping, put it in a cold room,
wire up the networking, install the OS from a CD-ROM, and pray the hard drive didn't fail.
The DevOps Nightmare: Scaling was impossible. If your app went viral
overnight, your server crashed because you couldn't buy new hardware fast enough. If it flopped,
you wasted $5,000 on a server that gathered dust.
Phase 2: Virtualization (The Bridge)
Then came Virtualization (VMware, VirtualBox). This allowed us to split one big physical server into ten smaller "Virtual Machines" (VMs). This was better, but you still had to own the hardware.
Phase 3: The Cloud (Utility Computing)
Cloud computing changed everything. Companies like Amazon (AWS),
Google (GCP), and Microsoft (Azure) realized they had massive, efficient data centers. They
decided to rent out their excess capacity via API.
Now, you can click a button (or run a Terraform script) and get a server in 30 seconds. You
pay only for the minutes you use it. This model is called Pay-As-You-Go. It
shifted IT costs from CapEx to OpEx.
The Financial Revolution: CapEx vs. OpEx
This is a favorite interview question for junior DevOps roles.
- CapEx (Capital Expenditure): This is the "Old Way." You spend $50,000 upfront to buy servers. You own them for 5 years. It is a risky investment. If your startup fails in Month 2, you can't return the servers. You lose the money.
- OpEx (Operational Expenditure): This is the "Cloud Way." You pay a monthly bill, like electricity or water. If your startup fails in Month 2, you just turn off the servers. Your total cost was maybe $50. There is zero upfront risk.
IaaS vs PaaS vs SaaS: The Pizza Analogy
Understanding IaaS vs PaaS vs SaaS is crucial for knowing what you are responsible for:
- IaaS (Infrastructure as a Service): You rent the raw hardware (virtualized). You get a blank server (VM). You install the OS, patch it, and run your app. Example: AWS EC2, Google Compute Engine. (We focus on this today).
- PaaS (Platform as a Service): The cloud provider manages the OS and runtime. You just upload your code. Example: AWS Elastic Beanstalk, Heroku, Google App Engine.
- SaaS (Software as a Service): You just use the software. You don't care about servers or code. Example: Gmail, Slack, Dropbox.
Key Cloud Concepts You Must Know
Before we touch the console, you must grasp these three concepts or you will accidentally delete production data or wake up to a $1,000 bill.
1. Regions and Availability Zones (AZs)
The cloud is not magic; it is physical hardware sitting in distinct buildings. Understanding this geography is vital for latency and disaster recovery.
- Region: A major geographic area (e.g.,
us-east-1in N. Virginia orap-south-1in Mumbai). Regions are completely independent. If the Tokyo region goes offline, the London region is unaffected. Best Practice: Always pick a region closest to your primary user base to minimize network latency (lag). - Availability Zone (AZ): Distinct, isolated data centers
within a region. A region usually has 3 or more AZs (e.g.,
us-east-1a,us-east-1b). Each AZ has its own power, cooling, and networking.
Why does this matter? If you launch one server in AZ-A and the power goes out in that building, your app dies. But if you launch two servers—one in AZ-A and one in AZ-B—your app survives. This is called High Availability (HA). - Edge Locations: These are thousands of smaller mini-data centers scattered across major cities worldwide. They don't run heavy servers but are used for CDN (Content Delivery Network) service like CloudFront. They cache your static images/videos closer to users so they load instantly.
- Local Zones: An extension of an AWS Region into a geographic area closer to users. They have their own connection to the internet and support a subset of AWS services, allowing you to run latency-sensitive applications closer to end-users.
2. The Shared Responsibility Model
Cloud security is a partnership. If you get hacked, you can't just blame Amazon. You need to know where the line is drawn.
| Layer | Who is Responsible? | Examples |
|---|---|---|
| Security OF the Cloud | AWS / Google / Azure | Physical security (guards, fences), Power, Hardware maintenance, Hypervisors, Network cables. |
| Security IN the Cloud | YOU ( The Customer) | Patched OS, Firewall rules (Security Groups), IAM Users, Data encryption, Strong passwords. |
The Trap: Many beginners spin up an EC2 instance and leave port
22 (SSH) open to the world 0.0.0.0/0 with a weak password. When a
botnet hacks it
10 minutes later, that is your fault, not the provider's.
3. Free Tier vs. Pay-As-You-Go
Most providers offer a "Free Tier" for 12 months. We will use this. However, if you leave a massive server running for a month, you will be charged. Always terminate resources when you are done learning.
Step 1: Choose a Cloud Provider
There are three giants ("The Big Three"):
- AWS (Amazon Web Services): The market leader. Most jobs require this. We will use AWS for this tutorial.
- Azure (Microsoft): huge in enterprise/corporate worlds.
- GCP (Google Cloud Platform): Popular for Kubernetes and data/AI.
Advice: Pick one and learn it deep. The concepts (VMs, VPCs, Storage) translate 90% between them. Today, we pick AWS.
Step 2: Create and Harden Your Account
We are building a real foundation. Do not verify this step lightly.
1. Sign Up
Go to aws.amazon.com/free and create a new account. You will need a credit card (for identity verification), but we will stay within free limits.
2. Secure the Root User (MFA)
The email you used to sign up is the Root User. It has infinite
power. If hackers get this, they can mine crypto on your credit card.
Action: Go to the "IAM Identity Center" or "Security
Credentials"
dashboard. Click "Assign MFA" (Multi-Factor Authentication) and scan the QR
code with an app
like Google Authenticator on your phone.
3. Create an "Admin" IAM User
Best practice: Never use the root user for daily work. Create a new user (e.g., `devops-admin`) with `AdministratorAccess` permission. Log in as that user for the rest of this tutorial.
Step 3: Launch Your First VM ("Hello World" Project)
We are going to launch an EC2 Instance. EC2 stands for Elastic Compute Cloud. It is the bread and butter of AWS.
1. Navigate to EC2
Log out of Root, login as `devops-admin`. Make sure you are in a region near you (check the top
right dropdown, e.g., us-east-1). Search for "EC2" and click it.
2. The Launch Wizard
Click the orange "Launch Instance" button. This form can be overwhelming. Let's break down the critical sections:
A. Name and Tags
Name it My-First-DevOps-Server. This creates a "Tag" with Key=Name. Tags are vital
for organizing costs later.
B. Application and OS Images (AMI)
An AMI (Amazon Machine Image) is a photo of the hard drive. It contains the
Operating System.
Selection: Choose Amazon Linux 2023
(based on Fedora) or
Ubuntu 22.04 LTS. Both are standard. Ensure the "Free tier
eligible" text is
visible.
C. Instance Type
This defines the hardware (CPU, RAM).
Selection: Look for t2.micro or
t3.micro.
Geek Detail: The 't' family stands for 'Turbo'. It gives you
stable low performance
but allows you to 'burst' to 100% CPU for short periods. Perfect for blogs or
dev servers.
D. Key Pair (Login)
AWS instances have no password. You use a cryptographic key pair (RSA).
Click "Create new key pair". Name it my-cloud-key.
Format: Select .pem for Mac/Linux or
specifically for OpenSSH
on Windows 10+. Use .ppk only if you are using the old PuTTY
tool.
Download it immediately. AWS does not store the private
key. If you lose
this file, you lose the server forever.
E. Network Settings (Security Groups)
This is your virtual firewall. By default, it creates a new Security Group.
SSH Rule: You will see a rule allowing SSH (Port 22). It
usually defaults
to 0.0.0.0/0 (Anywhere).
Critical Fix: Change the dropdown from "Anywhere" to
"My
IP"
. This restricts access so only your current home Wi-Fi can knock on the door.
F. Configure Storage
The default is 8 GiB of gp3 (General Purpose SSD) storage. This is your "Hard Drive" (called EBS Volume). The Free Tier allows up to 30 GiB, so 8 GiB is safe. Leave it as is.
3. Launch!
Check the summary sidebar. Does it say "$0.00"? Good. Click "Launch Instance". Wait 1 minute. You will see your instance state change from `Pending` to `Running`.
Connecting to Your Server
Now, let's log in. Open your local terminal (Mac/Linux/WSL). We need to prepare our key.
# 1. Move key to .ssh folder (Standard procedure)
mv ~/Downloads/my-cloud-key.pem ~/.ssh/

# 2. Make key read-only (Mandatory security step)
# If you skip this, AWS will reject the connection with "WARNING: UNPROTECTED PRIVATE KEY FILE!"
chmod 400 ~/.ssh/my-cloud-key.pem

# 3. Get Public IP
# Go to AWS Console -> Instances -> Click your instance copy "Public IPv4 address"

# 4. Connect! (Username depends on OS: 'ec2-user' for Amazon Linux, 'ubuntu' for Ubuntu)
ssh -i ~/.ssh/my-cloud-key.pem ec2-user@54.123.45.67- Connection Timed Out: This usually means the firewall (Security Group) is blocking you. Check if your ISP changed your public IP or if you accidentally selected "Anywhere" instead of "My IP" in Step 6E (or didn't save the rule).
- Permission Denied (publickey): You are likely using the wrong username.
- For Amazon Linux 2023 / 2, the user isec2-user.
- For Ubuntu, the user isubuntu.
Memorize this distinction! - "WARNING: UNPROTECTED PRIVATE KEY FILE!": This is a fatal error. SSH
ignores keys that are too "open" (readable by others). If you see
Permissions 0644 for 'key.pem' are too open, you must runchmod 400 key.pem. This makes the file readable only by you.
You should see a welcome message like:
       __|  __|_  )
       _|  (     /   Amazon Linux 2023
      ___|\___|___|
Boom! You are now inside a computer in a data center hundreds of miles away. You
can run commands just like on your laptop (Run whoami or
top to
verify).
The "Hello World" Test
Let's run a tiny web server to prove it works.
# Create a index.html file
echo "<h1>Hello from the Cloud! I made this.</h1>" > index.html

# Run a python web server on port 8000
python3 -m http.server 8000
The command will "hang" because the server is running. But... if you try to visit
http://54.123.45.67:8000 in your browser, it will
fail. Why?
The Firewall! We only opened port 22 (SSH). We didn't open port
8000.
Homework Challenge: Go to your Security Group, add an
"Inbound Rule" for
Custom TCP Port 8000 from My IP, and refresh the page. You should see your
HTML!
Step 4: Clean Up & Cost Awareness
Rule #1 of Cloud: Turn off the lights when you leave.
Go back to the AWS Console. Select your instance. Click Instance State -> Terminate .
Stopping it only pauses the CPU (you still pay for storage). Terminating deletes it completely. Since we are just learning (and we have Infrastructure as Code coming in the future), we terminate.
Your "First Cloud Server" Project Check
Project Checklist
- Created an AWS Free Tier Account.
- Enabled MFA on Root User.
- Launched a t2.micro EC2 Instance.
- Connected via SSH using a Key Pair.
- Terminated the instance to prevent costs.
How to Talk About This (Resume/Interview)
Even a simple project belongs on your journey log. Try this:
- Cloud Infrastructure Initiation: Provisioned and hardened a secure AWS environment; deployed Linux EC2 instances using SSH key-pair authentication and security group isolation.
Conclusion: You Have Labeled the Ground
You now understand cloud fundamentals for DevOps not just in theory, but in practice. You have a secure account and the ability to spin up infrastructure on command.
But a manually launched server is just the beginning. Real DevOps is about automation and scalability.
What is coming next?
- Part 2: Compute in Depth – We will take that Docker container from the last tutorial and actually run it on this EC2 instance.
- Part 3: Networking (VPC) – How to build a private, secure network for your apps.
Stay tuned, and keep experimenting!